Bb Learn Content Areas -- Adding and Editing Learning Modules
Instructions
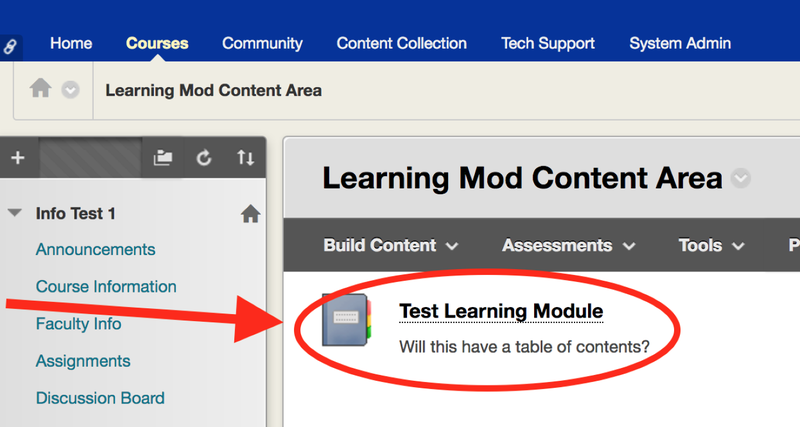
Here are step by step instructions to create a learning module, which can have a table of contents.
- Create a content area using the + above the left menu.
(a) Or enter an existing content area, such as "Week 1" or "Module 1." - If you haven't already, enter the content area, such as "Week 1" or "Module 1."
- Click "Build Content."
- Click "Learning Module."
- Enter a "Name" for the "Learning Module.
- (If you wish) enter a description in the "Text" box.
- Select if all content (like folders and Items) within the learning module should show "Icon Only," "Text Only," or "Icon and Text."
- Check the box to "Change Default View..." for all content within the learning module to follow what you set for step 7.
- If you want students to have to click through content in the learning module in a certain order, select "Yes" next to "Enforce Sequential Viewing of the Learning Module."
- If you want the "Learning Module" to open in a new tab/window, select "Yes" next to "Open in New Window."
- Select "Yes" to "Permit Users to View this Content" if you want students to view the learning module
(a) Select "Yes" if you set "Date and Time Restrictions" below. - Select "Yes" next to "Track Number of Views" to track usage of learning module in course reports.
- To set this learning module to become available and unavailable on specific days or times to students, fill out the "Select Date and Time Restrictions."
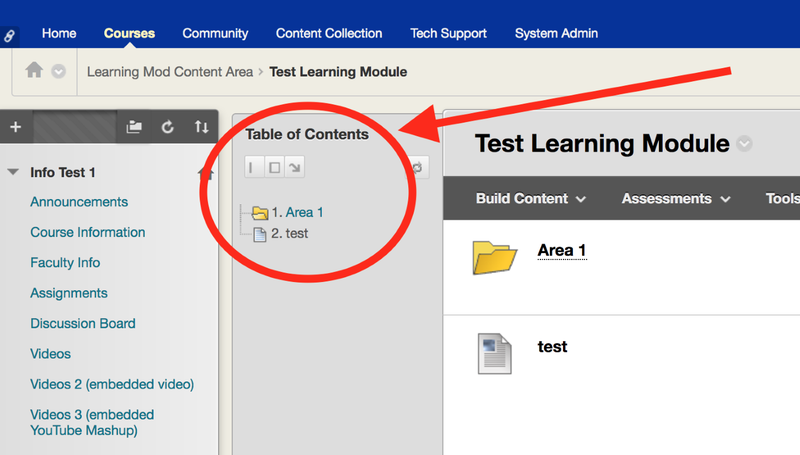
(a) If you do this, select "Yes" to "Permit Users to View this Content." - Under "Table of Contents," select "Yes" if you want a "Table of Contents."
- For Hierarchical Display," choose if you want the table of contents to show numbers, letters, roman numerals, etc.
- Click "Submit" to save changes.
Click the name of the learning module to enter it.

- Add Items, folders, or other content as you normally would in a folder or a content area.
(a) Links to the content will appear in the "Table of Contents" panel.
