Portable Projector Setup
Portable Projector Setup
Instructions
Use one of the portable projectors if you are unable to make a projector work in a classroom, or simply need to project a computer display where there is no projector or monitor you can connect a laptop to.
These instructors are for the Optoma HDMI Portable Projectors.
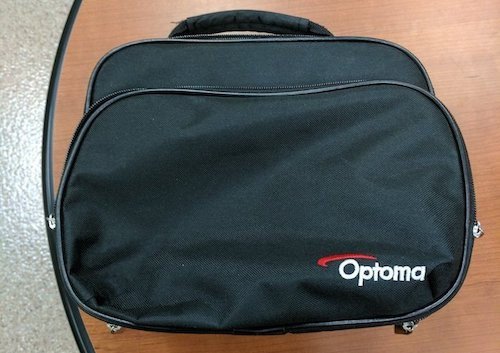
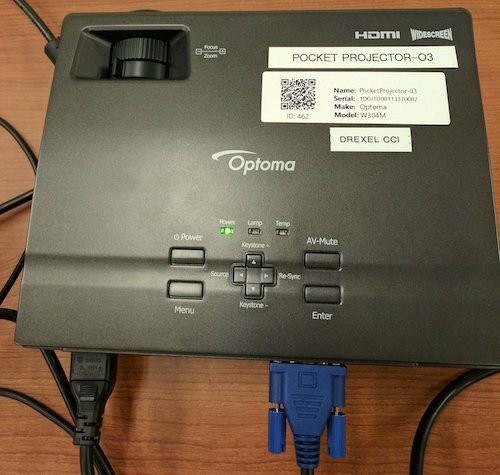
- 1. Grab one of the portable projectors from the closet behind the CCI Commons front desk.


- Grab a inch-high stack of white printer paper.
For propping up the front of the projector. - Grab an HDMI cord (in case it's needed).
- Grab an HDMI-to-Mini-DisplayPort adapter (in case it's needed).
- Grab a Windows student loaner laptop (in case it's needed).
- Go to classroom or location where the projector is needed.
- Find table or chair to put projector on.
Preferably one that you can move. - Plug in VGA cable into loaner or instructor laptop.
No VGA port?
Use HDMI cord and HDMI adapter. - Plug power cable into projector and outlet.
- Turn on
- Adjust size and location of projected image.
Move table or chair or projector as needed.
Prop projector up using paper. - Instructor usually presents from podium computer?
Use Bb Collaborate Ultra so podium computer display is sent to loaner laptop connected to projector.
Instructions at Bb Collaborate Ultra -- Sharing Podium Computer Display with a Laptop
Instructor usually presents from their laptop?
- Have the instructor connect their laptop to the podium, and select laptop on the podium control panel, even if the primary projector is not working.
- This should make sure that the laptop's display is being recorded.
- Unsure if being recorded or live broadcast?
Ask the instructor.
Or once class or event starts, see following webpage to tell if echo360 is recording: echo360 -- How to Tell if Recording - Recorded or not, use Bb Collaborate Ultra, so instructor's laptop computer display is shared with the loaner laptop connected to the portable projector.
Instructions at Bb Collaborate Ultra -- Sharing Laptop Display with Another Computer
