GitLab Planner
- Head to GitLab
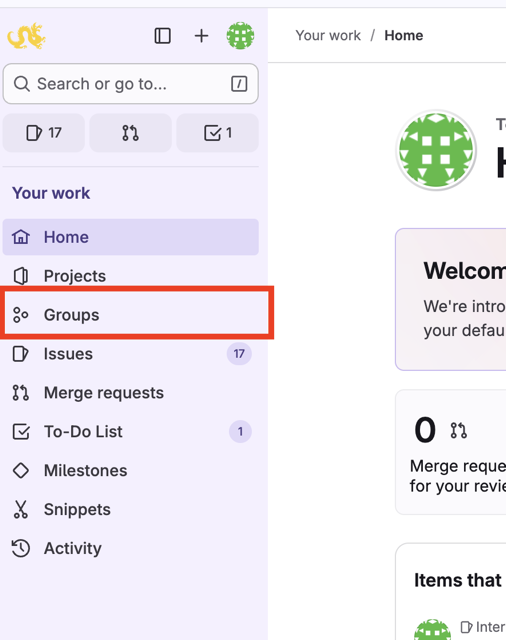
- Click on Groups
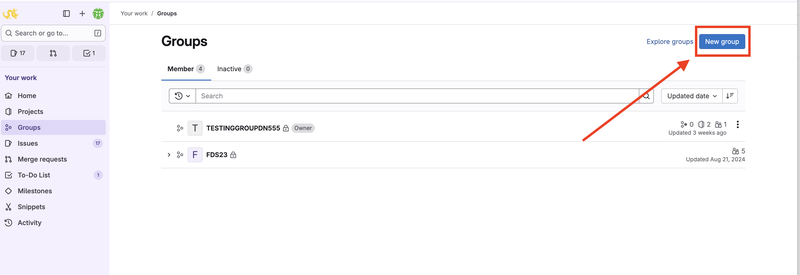
- Click the option to create a New Group
- It will then give you the option to Create group or Import group
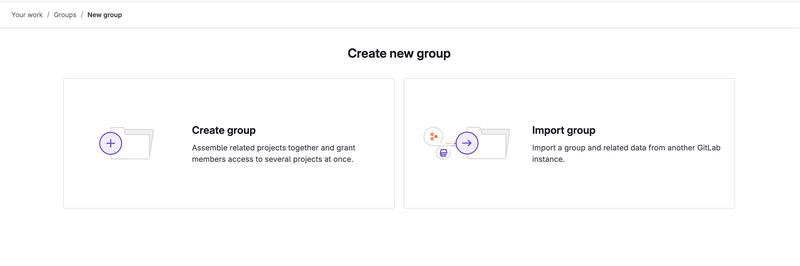
- If Create group
- Add necessary information such as:
- Group name/url
- Public, private, or internal
- Who will you be using this group for?
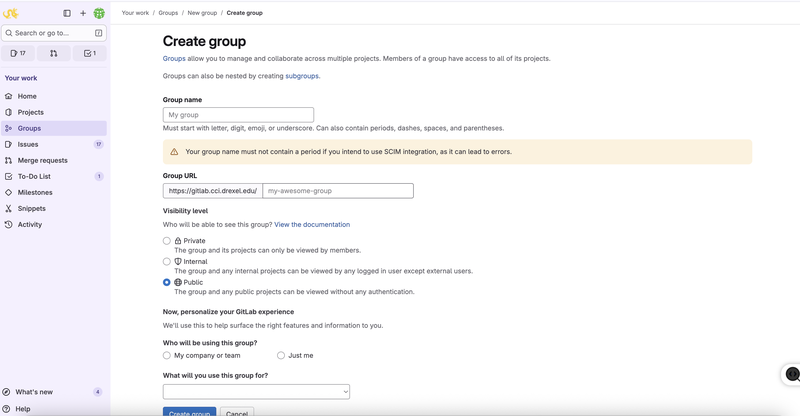
- When done, click Create group
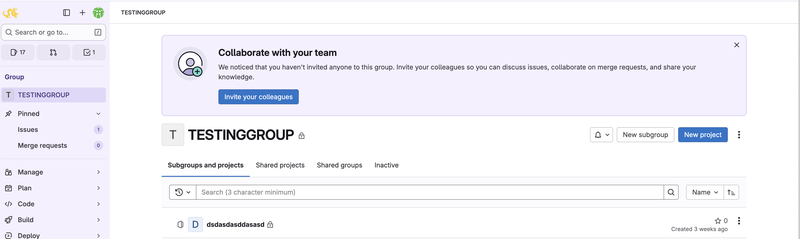
- You will now see your group, to create a project click New project
- It will then give you the option to Create a blank, template, or Import project
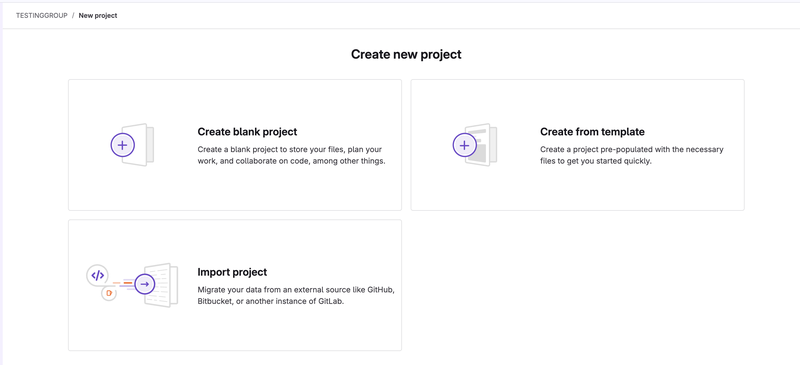
- If Blank project
- Add necessary information such as:
- Project name
- Project url/slug
- Project Configuration
- When done, click Create project
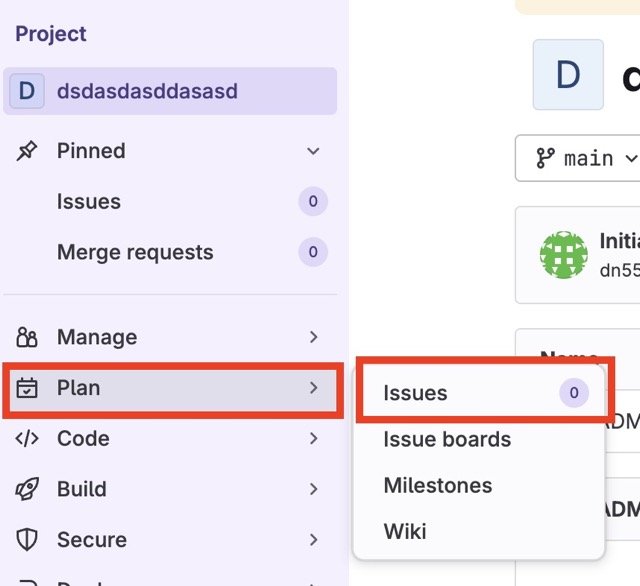
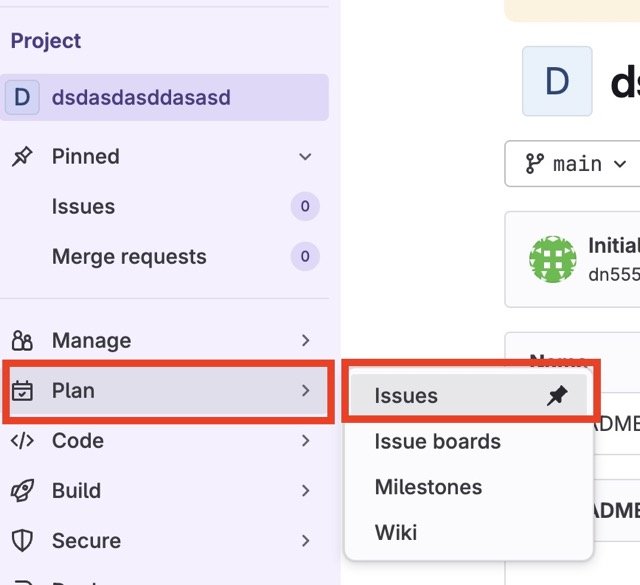
- On the left nav bar, you will see a button that says Plan
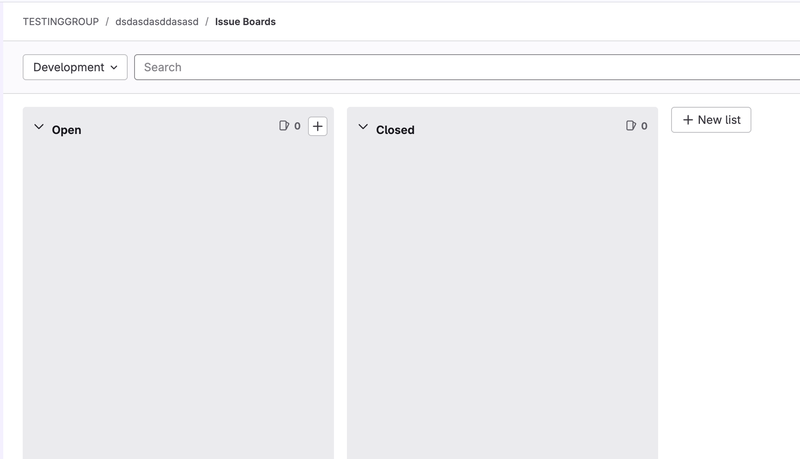
- Hover over the Plan button, and click Issue boards
- This will show a Kanban board, you can also create issues or tasks here
- Another way to create Tasks/Issues/Incidents
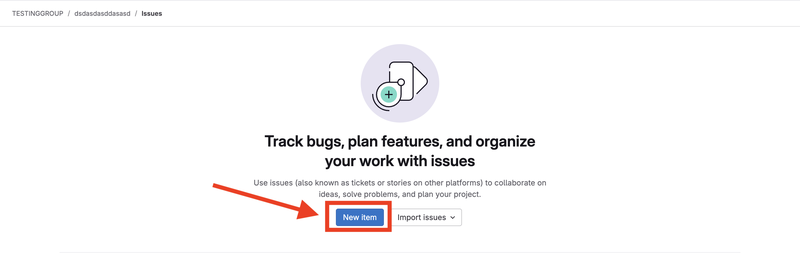
- Hover over Plan again and select Issues
- Click New Item
or

- Click on Type:
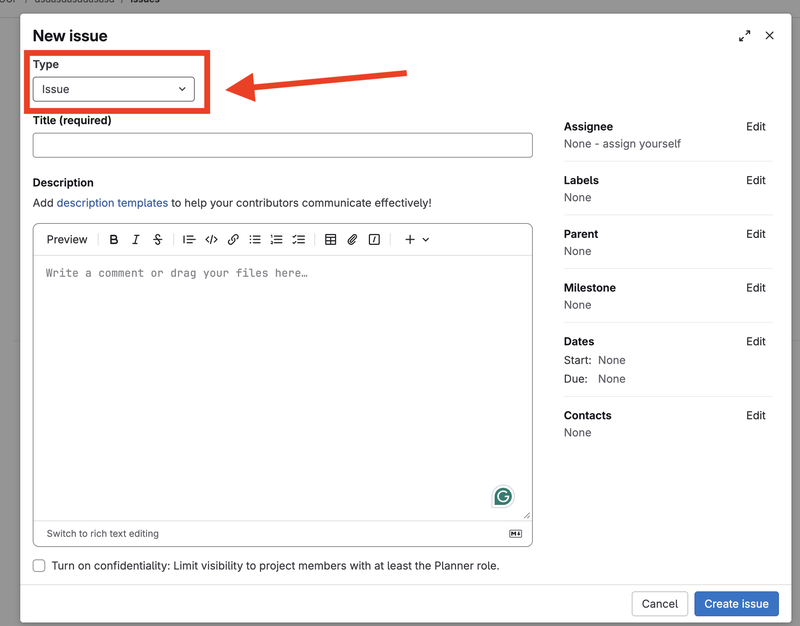
- You will have the options between Incident, Issue, and Task
- Select which you prefer
- Enter any information you have such as:
- Title
- Description
- Assignee
- Labels
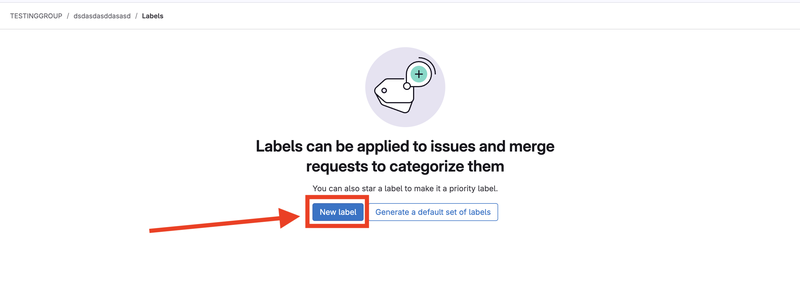
- To create labels
- Hover over Manage
- Click Labels
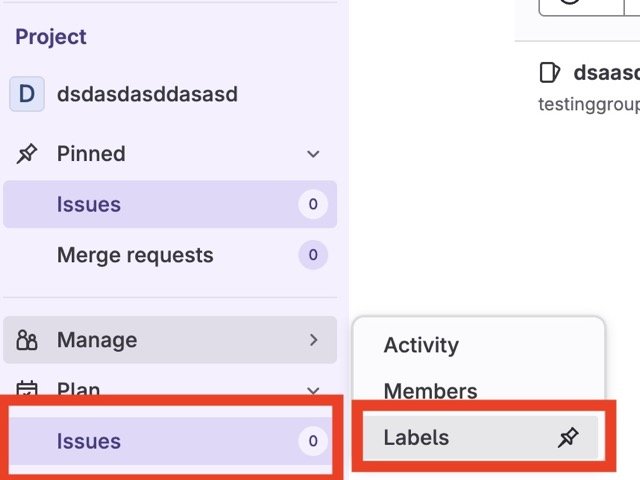
- Click New Label
or

- Enter a title, description, and color
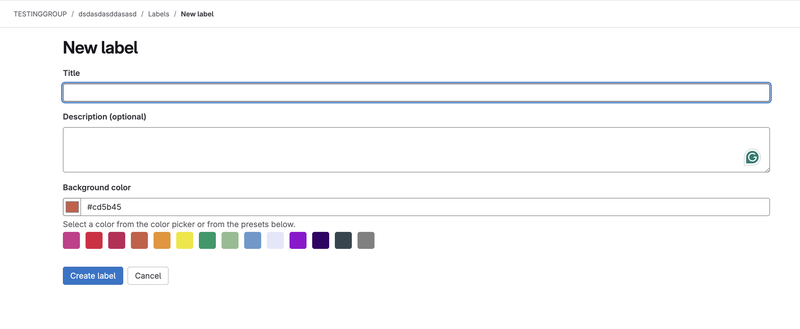
- Click Create label
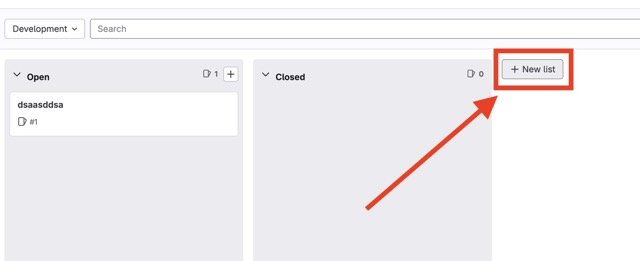
- Creating another section on Issue Boards
- Go to Issue boards
- Click New List
- Select a label for it (this is required, refer to Step 10 if needed)
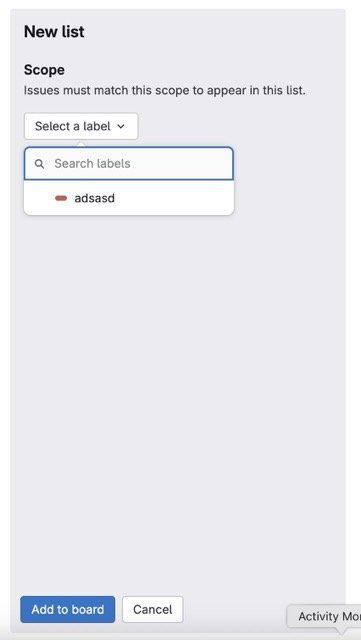
- Click Add to Board
- You have now created a Kanban Board on Gitlab
- Members can assign issues/incidents/tasks to themselves and move tasks around