Creating and Restoring Snapshots
Snapshots allow you to save and restore the state of a VM, allowing you to revert to a point in time where things were configured in a certain way. For VCenter lab environments, VMs are typically deployed with an initial snapshot, which allows you to restore the VM to the way it was when it was deployed. These can be used to get back to a working state if you make a change that breaks your VM.
Please note that reverting to a snapshot permanently deletes any changes you've made to your VM. If you think you may need to come back to your previous state, take a snapshot before reverting to an earlier one.
Taking a Snapshot
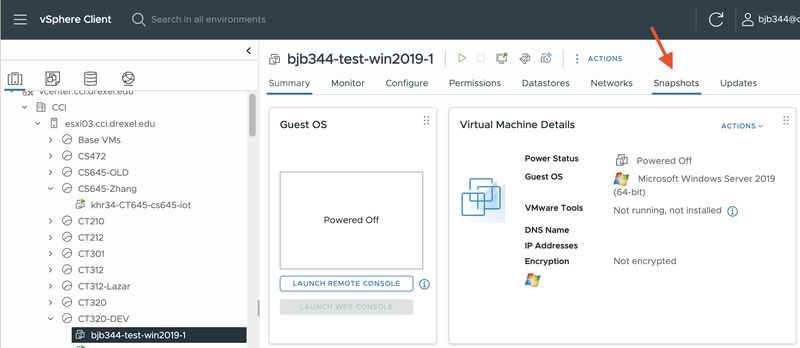
To take a snapshot, navigate to the VM you want to take a snapshot of and click the "Snapshots" tab in the top of the VCenter window:
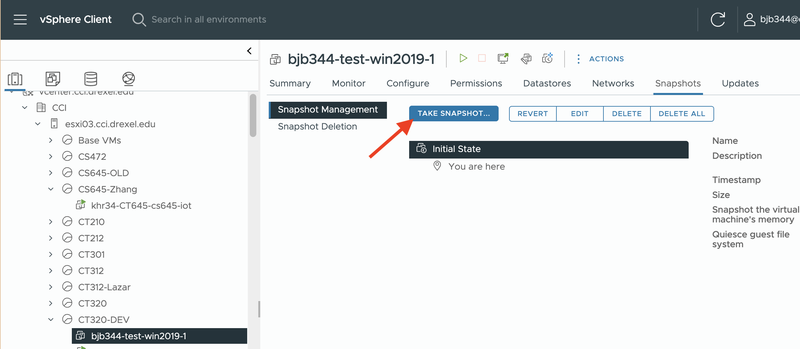
Next, click the "Take Snapshot" button
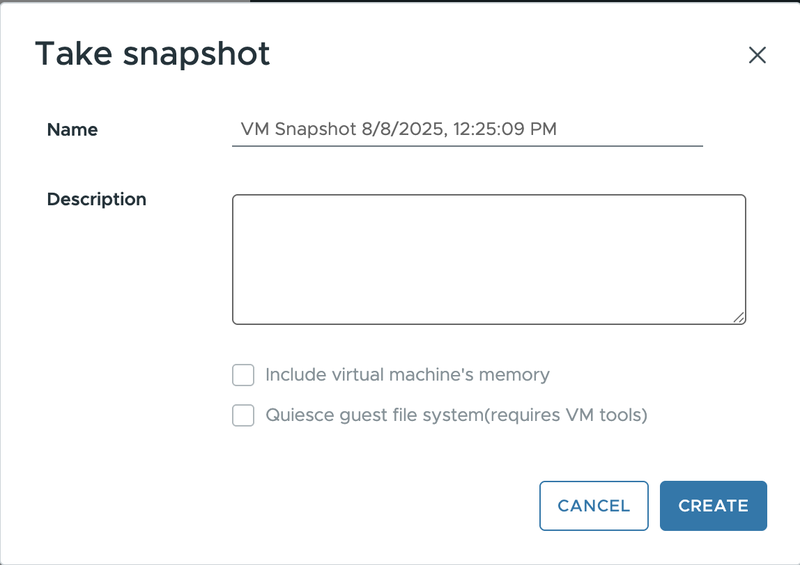
In the popup window, give the snapshot a name and optionally a description so you know what the snapshot is for, eg before you change a system setting. You should not check the "Include Virtual Machine's Memory" or "Quiesce guest file system" checkboxes as they are not typically necessary. Once ready, click "Create" to take the snapshot.
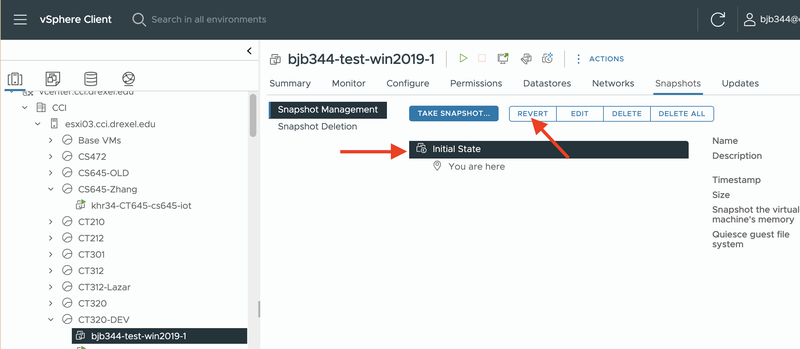
Reverting to a Snapshot
To revert to a snapshot, navigate to the VM you want to take a snapshot of and click the "Snapshots" tab in the top of the VCenter window:
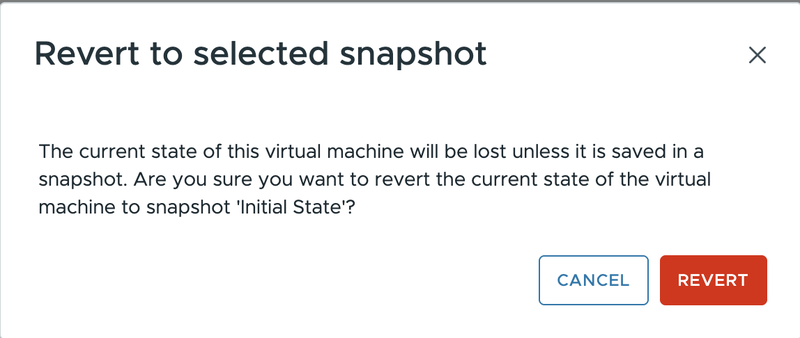
Next, select the snapshot you want to revert to (in this case, Initial State), and click the "Revert" button:
A popup window will appear asking to confirm reverting to snapshot. If you need to come back to the current state, make sure to follow the above directions to take a snapshot before reverting to the earlier snapshot. If you are sure you are ready to lose any work since the snapshot, click the "REVERT" button.