vCenter
Introduction
CCI’s vCenter Environment provides an interface for Students to work with various Virtual Machines to perform academic lab exercises. These range from attack/defend scenarios to access to specific software in a controlled environment.
Troubleshooting Tips
- VCenter is a private service. Private services are only available on the Drexel network - you must be on campus or connected to the Drexel VPN to access them. To get connected to the Drexel VPN, follow the instructions at VPN.
Also note that external VPNs, such as Private Internet Access, may interfere with the Drexel VPN. Make sure to only connect to one VPN at a time. - Make sure to allow pop-up windows in VCenter. These are used when you open the console for your VM.
- You may need to disable adblockers in order for some features to work.
- It is generally recommended that you use Chrome, Firefox, or Safari for VCenter. Other browsers may have issues using VCenter.
- VCenter VMs come with snapshots, which allow you to save your progress and revert to the initial state of your VM if you run into an issue. Instructions on using snapshots can be found here.
- Additional troubleshooting instructions can be found here.
Instructions
Here is how to access your Virtual Machine (VM) using Drexel's VMware vCenter.
- If you're off campus, connect to VPN first following these instructions.
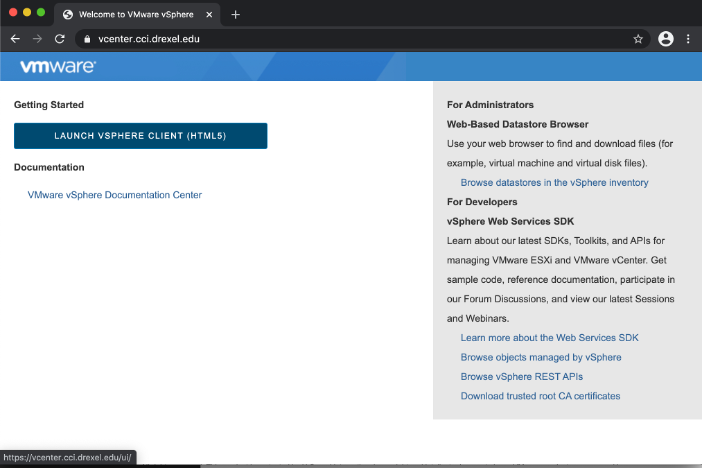
- Navigate in your browser to https://vcenter.cci.drexel.edu .
- On the VMWare's "Getting Started" page, click “Launch vSphere
Client (HTML5).”
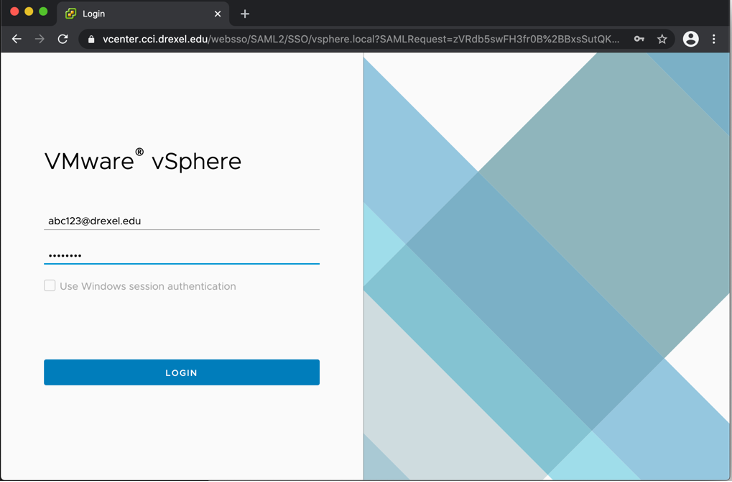
- Login using your normal Drexel userid & password.
- Once logged in, you may see one of the two screenshots below.
If a red bar shows at the top of your browser window saying "Unable to login because you do not have permission on any Center Server systems connected to this client," you will need to contact ihelp@drexel.edu to have your VM(s) created.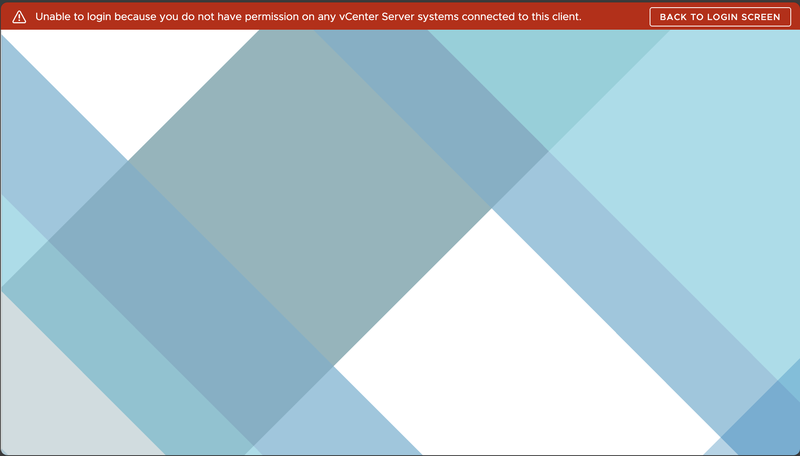
If you see a screen that says "You have no privileges to view "vcenter.cci.drexel.edu" object," you are good to continue - simply expand the inventory list on the left side of your screen
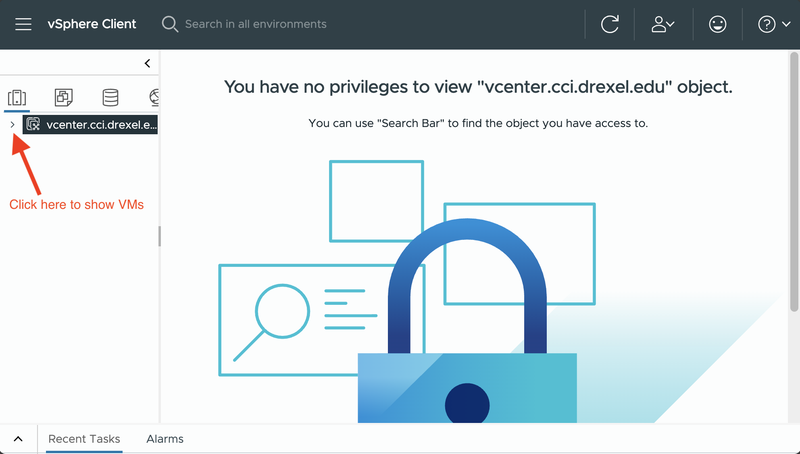
- To get to your VM, expand the navigation tree on the
left:

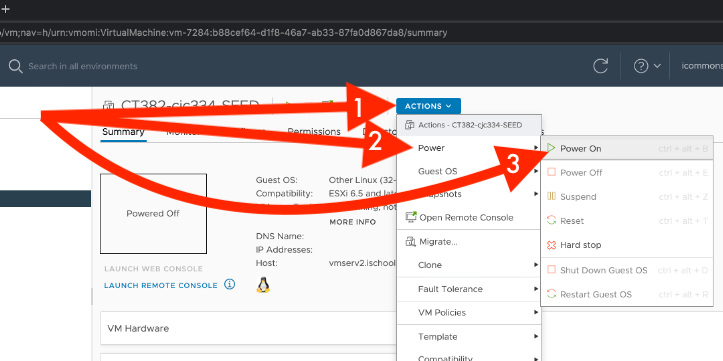
- Then click “Actions” > “Power” > "Power On.”
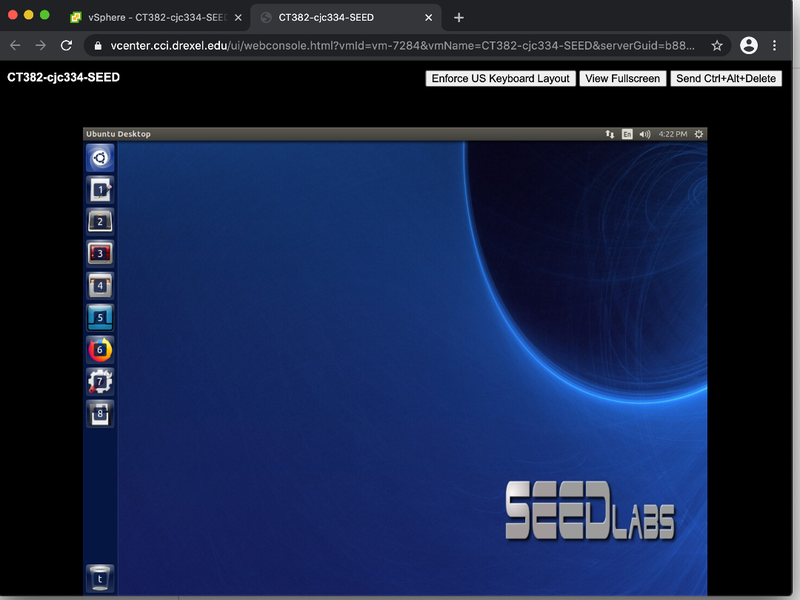
- “Powered On” will display on top of the small black VM desktop
image. Click the "Powered On" picture. It will expand to a full interactive
desktop in a new web browser tab.
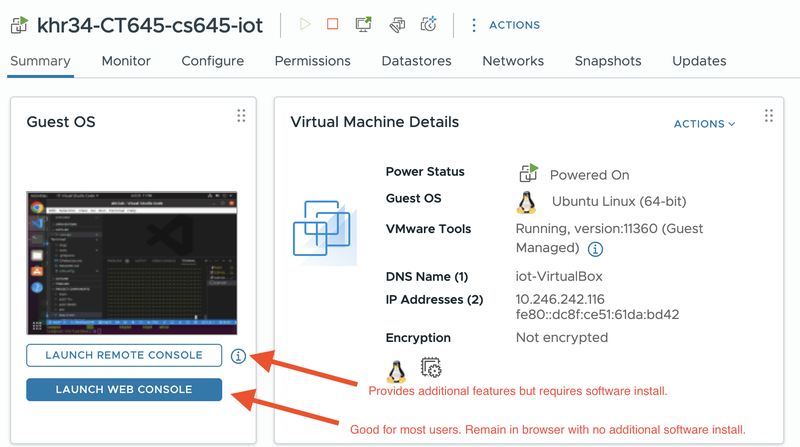
- For most users, "Web Console" is fine. If you need USB passthrough, copy and paste with the guest VM, etc, you can use the Virtual Machine Remote Console (VMRC) for a more immersive experience. Documentation on downloading and installing VMRC can be found here - please use our own instructions rather than those provided by VMWare in the circled "i".
- Your
VM will appear in a new tab, or in the VMRC application if you chose that option.